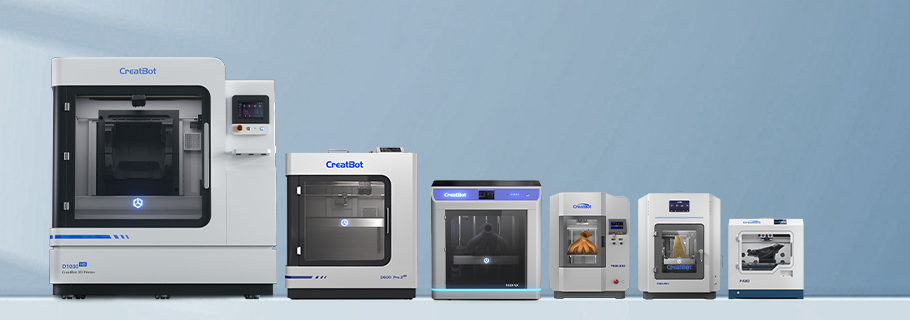


PC (Polycarbonate) offers excellent strength, impact resistance, and heat resistance, making it one of the most widely used engineering materials in industrial 3D printing.
For transparent PC printing, the model must not only form reliably but also minimize the impact of bubbles, impurities, interlayer defects, and surface texture on light transmission. Compared with ordinary PC printing, transparent PC demands tighter process control.
Based on hands-on experience with CreatBot 3D printers and the corresponding PC materials and slicing parameters, this article summarizes the key equipment and parameter optimization points for transparent PC printing.
1. Equipment Preparation Before Printing
Use a clean hotend
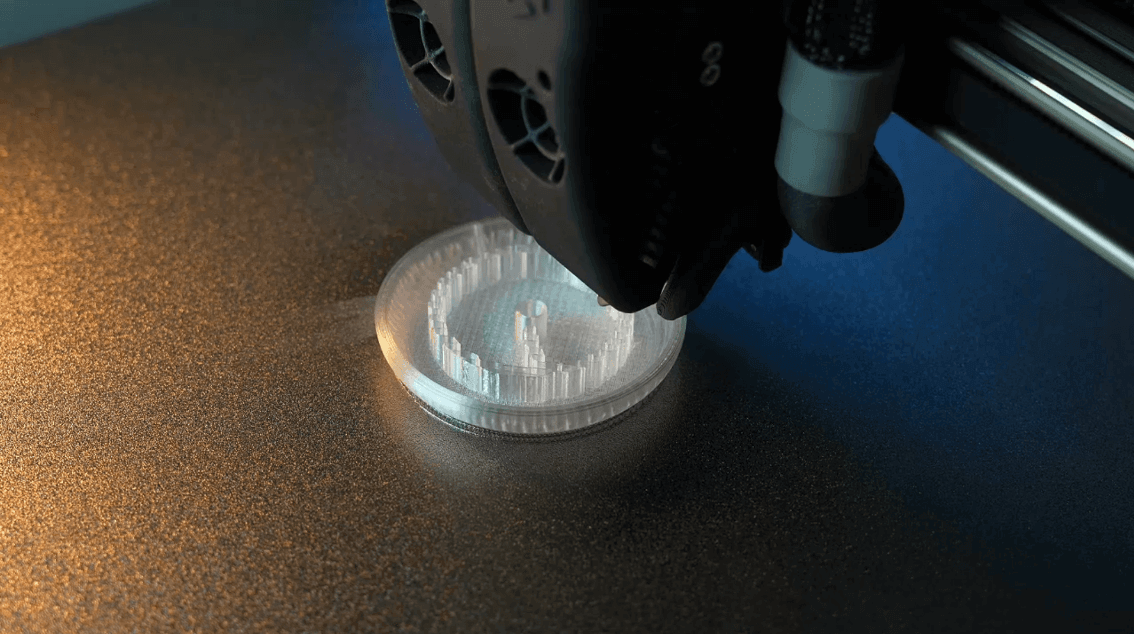
Transparent PC is extremely sensitive to impurities.
If the hotend has previously printed other colors—especially black or fiber-reinforced materials such as carbon fiber—residue inside may enter the transparent PC during printing and eventually appear as black spots, particles, or discoloration on the model surface.
Therefore, when printing transparent PC, it is recommended to use a brand-new or dedicated hotend.
If replacing the hotend is not possible, purge the extruder thoroughly before printing to remove as much residual material as possible.
Keep the PEI build plate clean
When printing transparent PC, choose a clean area of the textured PEI plate.
Dust, oil, and residual material on the plate surface can all affect the first-layer finish, and such defects are far more noticeable on transparent prints than on opaque models.
2. Parameter Optimization for Transparent PC on CreatBot
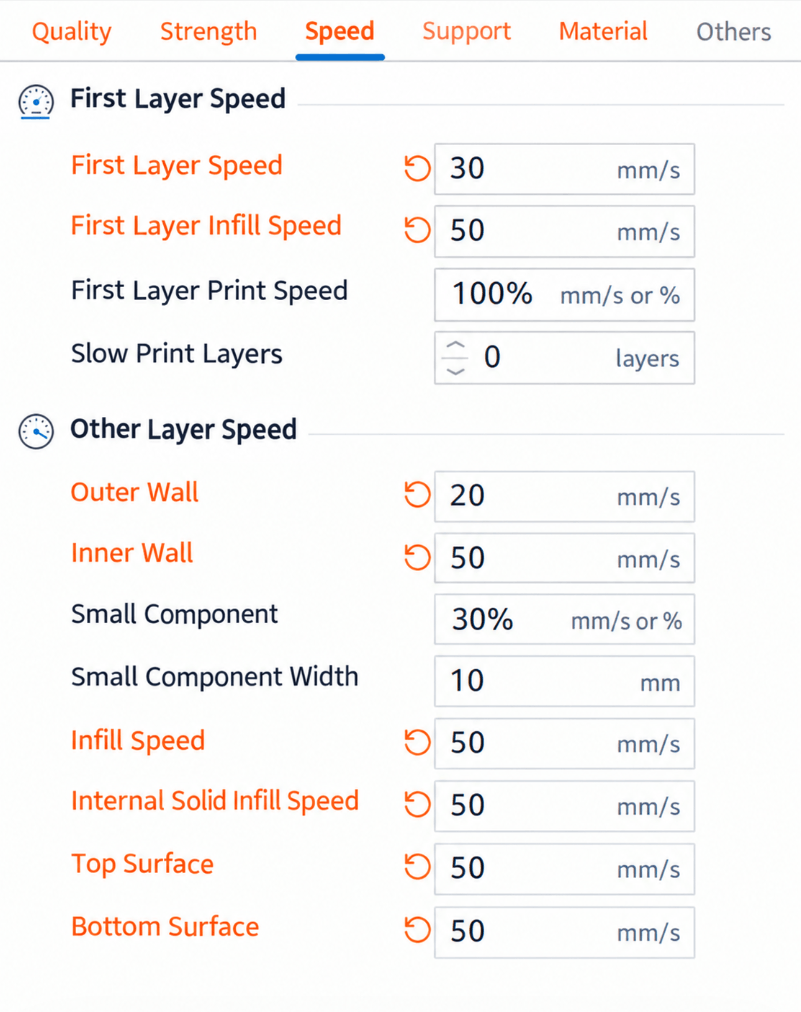
Transparent PC should not simply reuse ordinary PC printing parameters.
During actual CreatBot printing, certain parameters can be tuned specifically for transparency.
Use a larger nozzle when possible
Where the model structure allows, print with a larger nozzle.
A larger nozzle reduces the number of extrusion lines and material interfaces formed during printing, which in turn reduces light scattering inside the model and can improve transparency.
So for models that demand high transparency but not extreme detail, a larger nozzle size is worth prioritizing.
Reduce printing speed appropriately
It is advisable to slow down when printing transparent PC.
A lower printing speed allows the material to melt more fully and steadily, and helps adjacent extrusion lines and layers fuse better.
Rather than chasing printing efficiency, transparent PC printing calls for attention to melting stability and surface quality.
Raise printing temperature appropriately
Within the temperature range CreatBot recommends for PC, adjustments can be made according to the desired transparency.
A higher, appropriate melting temperature improves material flow, allowing adjacent lines and layers to fuse more fully and reducing internal interfaces and micro voids.
However, higher is not always better—temperatures must stay within the material's proper processing range.
3. How Retraction Affects Transparent PC
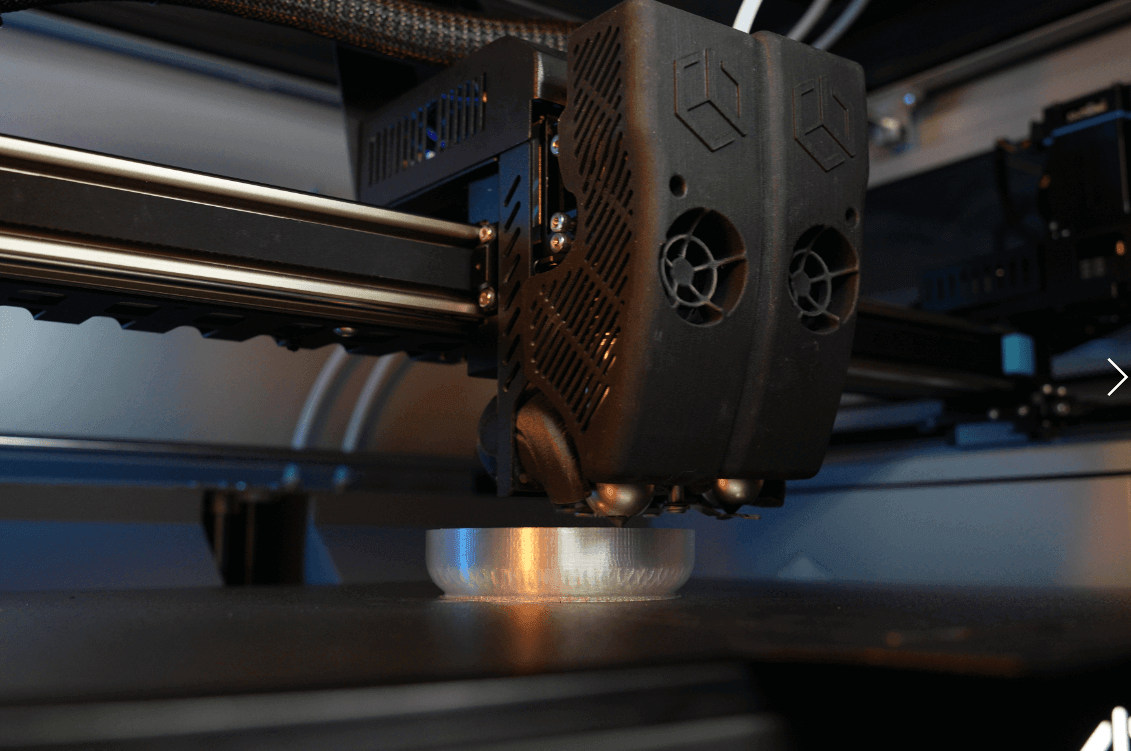
Retraction is a parameter well worth attention when printing transparent PC.
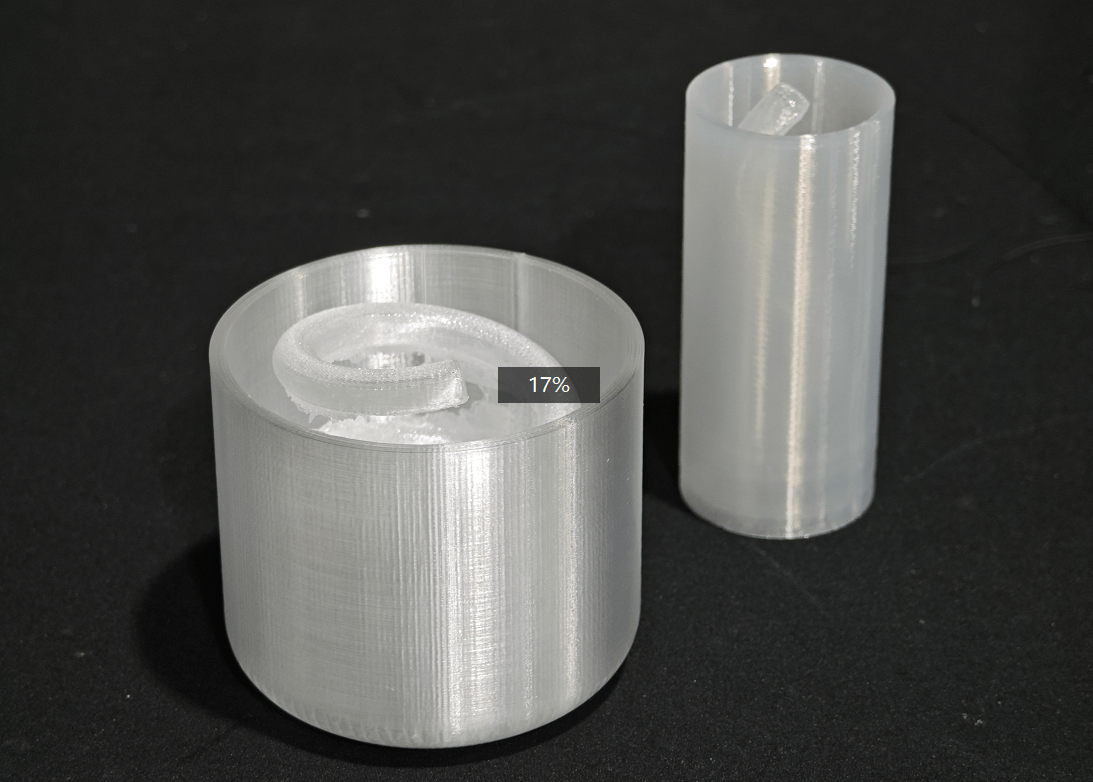
Actual tests show that excessive retraction can increase instability during extrusion and may cause bubbles or local defects in transparent parts.
For example, in one test:
Left: 0.5 mm retractionRight: 2.0 mm retraction
The two settings produced clearly different results.
Therefore, when printing transparent PC on a CreatBot, do not simply reuse retraction settings from other materials.
As long as stringing is under control, reducing the retraction distance helps keep material extrusion through the nozzle more stable.
4. Keep PC Filament Dry
PC is somewhat hygroscopic, so filament condition matters even more for transparent PC printing.
If the material absorbs moisture from the air, bubbles can form during high-temperature melting, further causing the following problems:
- Bubbles inside the printed part
- Rough or foggy surfaces
- Unstable extrusion
- Reduced transparency
For transparent PC, even tiny bubbles scatter light noticeably, so make sure the filament is properly dried before printing.
For long prints, maintaining a stable dried-filament feed environment throughout printing is also recommended.
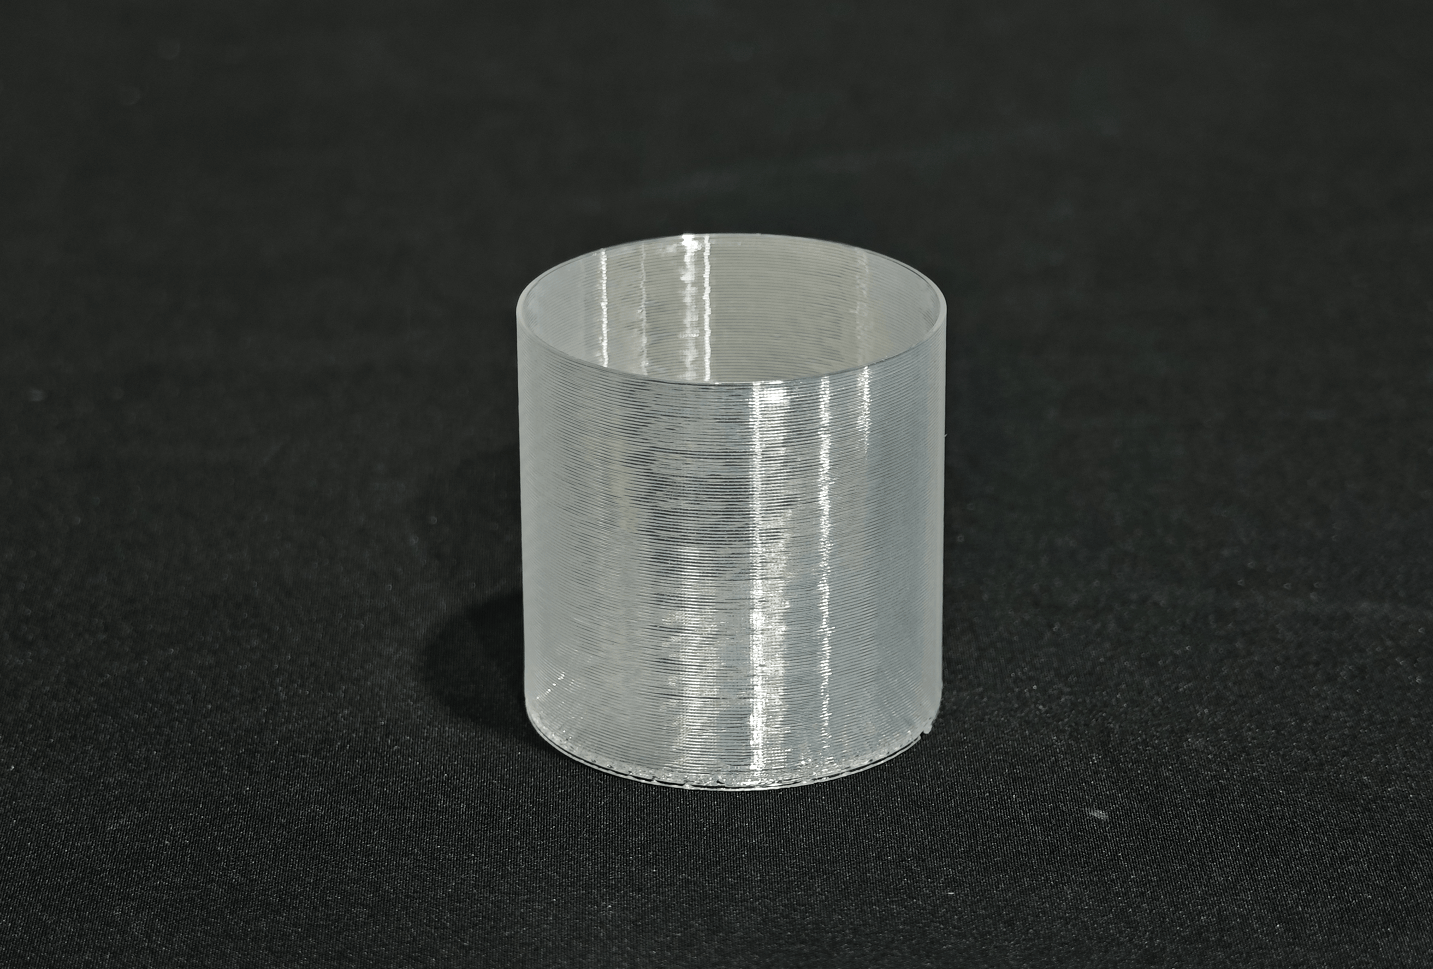
5. Run a Transparency Test Before the Final Print
If the model has high transparency requirements, start with a simple cylinder or vase model before the final print.
The purpose of the test is not merely to verify that the model can print, but to quickly check the following under the current parameters:
- Transparency
- Surface quality
- Bubbles
- Stringing
- Extrusion stability
- Layer adhesion
A simple test print quickly reveals how well the CreatBot printer, PC material, and slicing parameters match, before committing to the final model.
6. FAQ: Transparent PC Printing
Why isn't my PC print transparent enough?
Check filament condition, printing temperature, printing speed, and whether the model has obvious internal voids. Start by confirming the filament is dry, then fine-tune temperature and speed within a reasonable range.
Why do bubbles appear in transparent PC prints?
First check whether the PC filament has absorbed moisture, then check whether retraction is set too high. For transparent materials, bubbles noticeably affect light transmission, so dry filament and stable extrusion are essential.
Why are there black spots on transparent PC prints?
Usually you need to check the hotend and nozzle for residue from other materials. If dark or fiber-reinforced materials were printed before, replacing the hotend or nozzle is recommended.
7. Summary of CreatBot Transparent PC Printing Experience
The key to transparent PC printing is not tweaking a single parameter, but ensuring that the printer, material, and slicing parameters are well matched.
Based on hands-on CreatBot experience, the key steps can be summarized as:
- Clean the hotend
- Keep filament dry
- Use a suitable nozzle
- Adjust temperature appropriately
- Reduce printing speed
- Optimize retraction
- Test transparency
- Start the final print
For applications with high surface-quality requirements, prioritize a stable printing process before further optimizing transparency.
By fine-tuning both equipment and slicing parameters, you can preserve PC's material properties while achieving a more uniform, cleaner transparent finish.